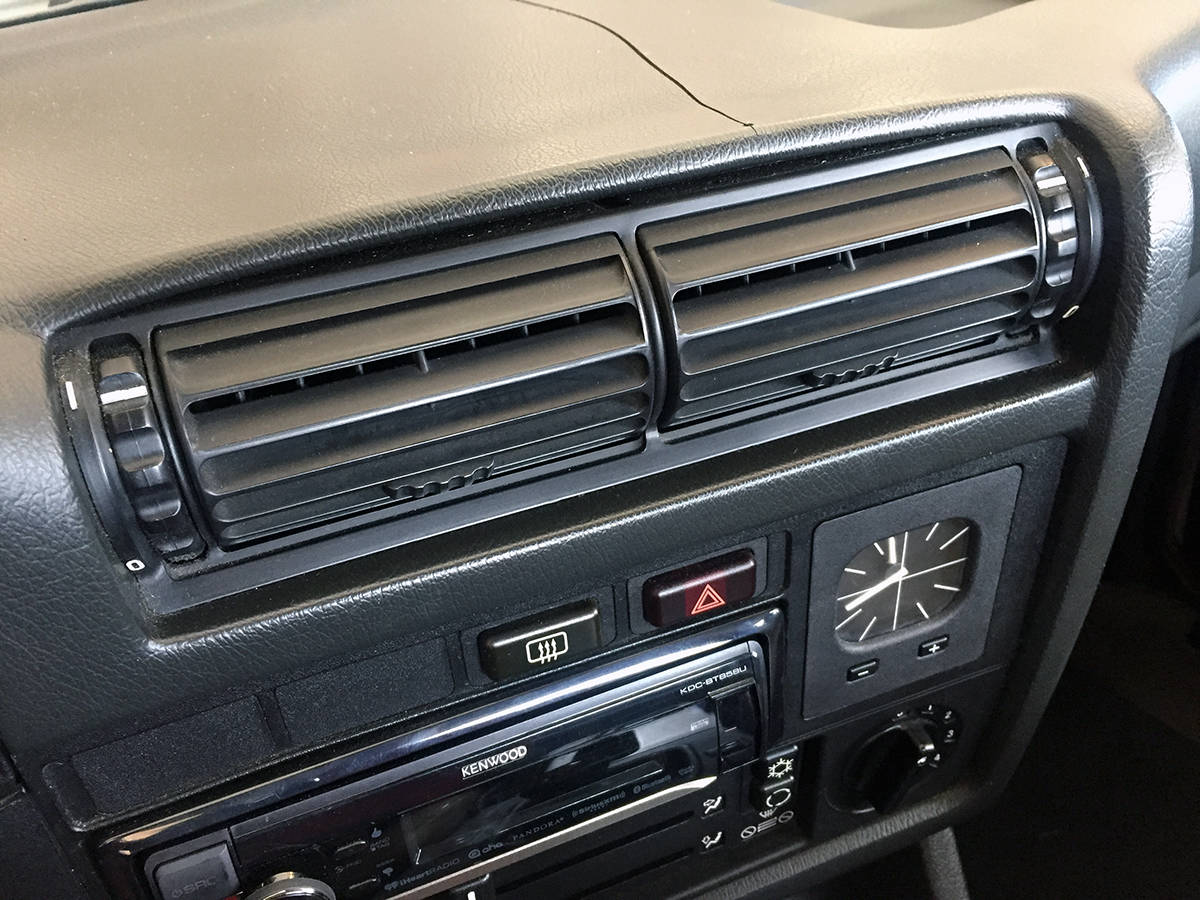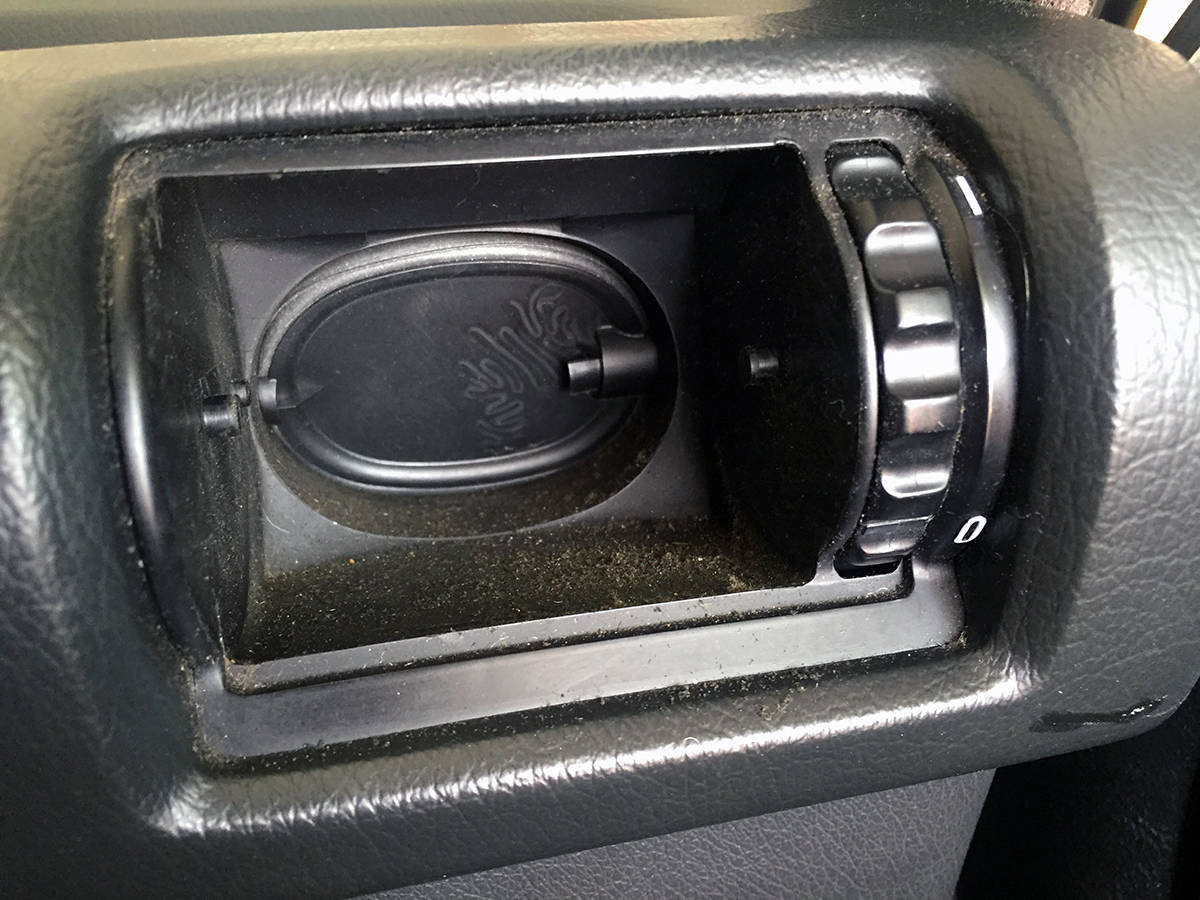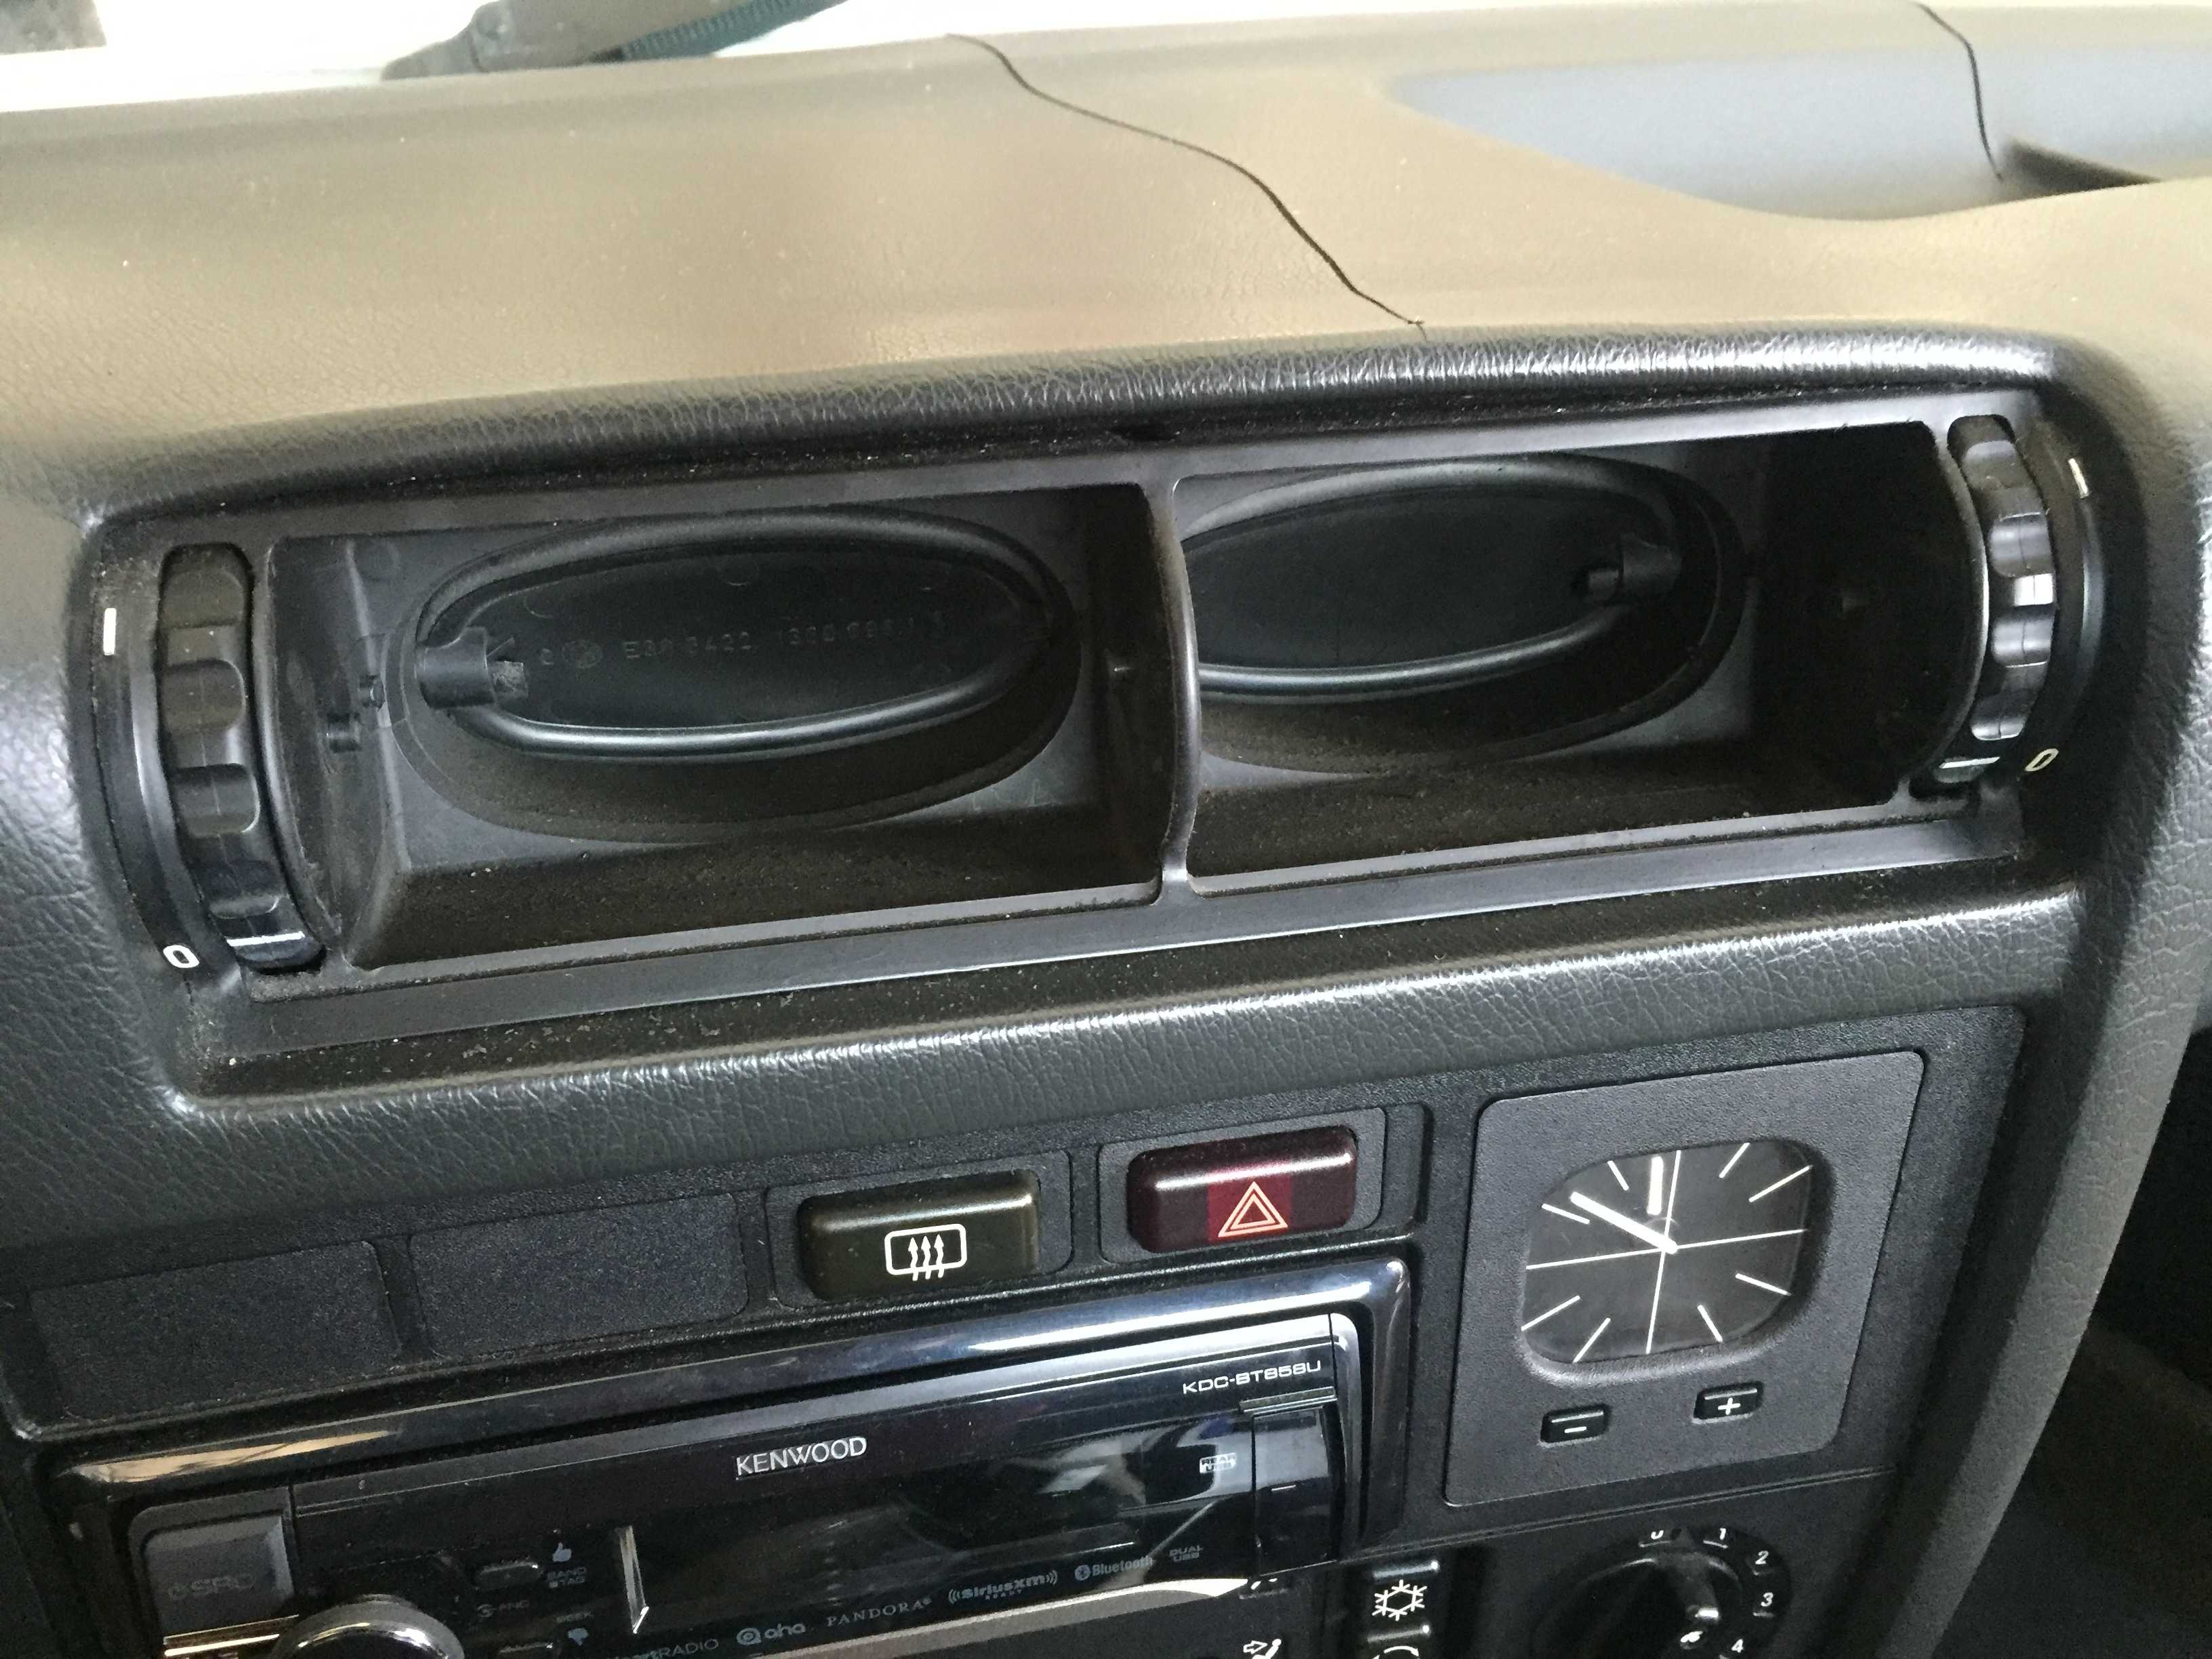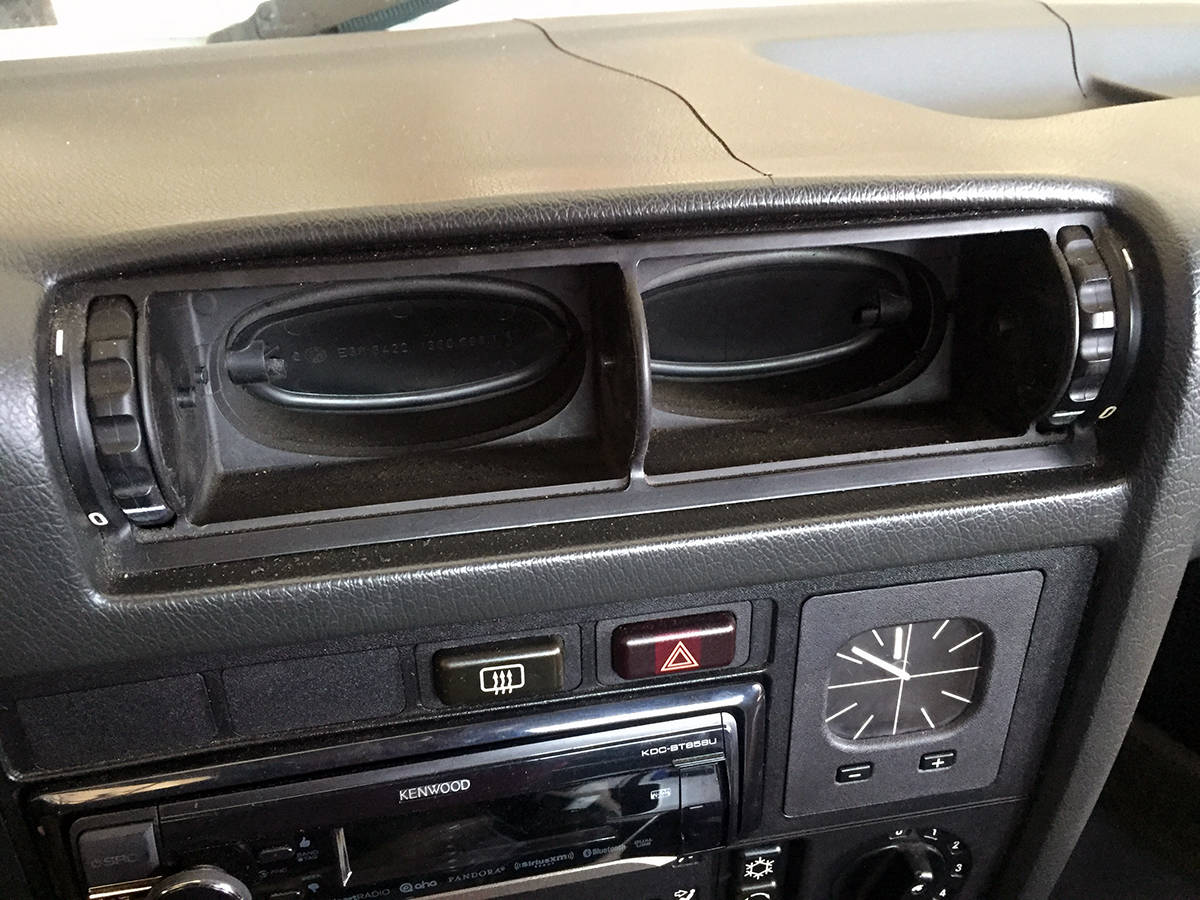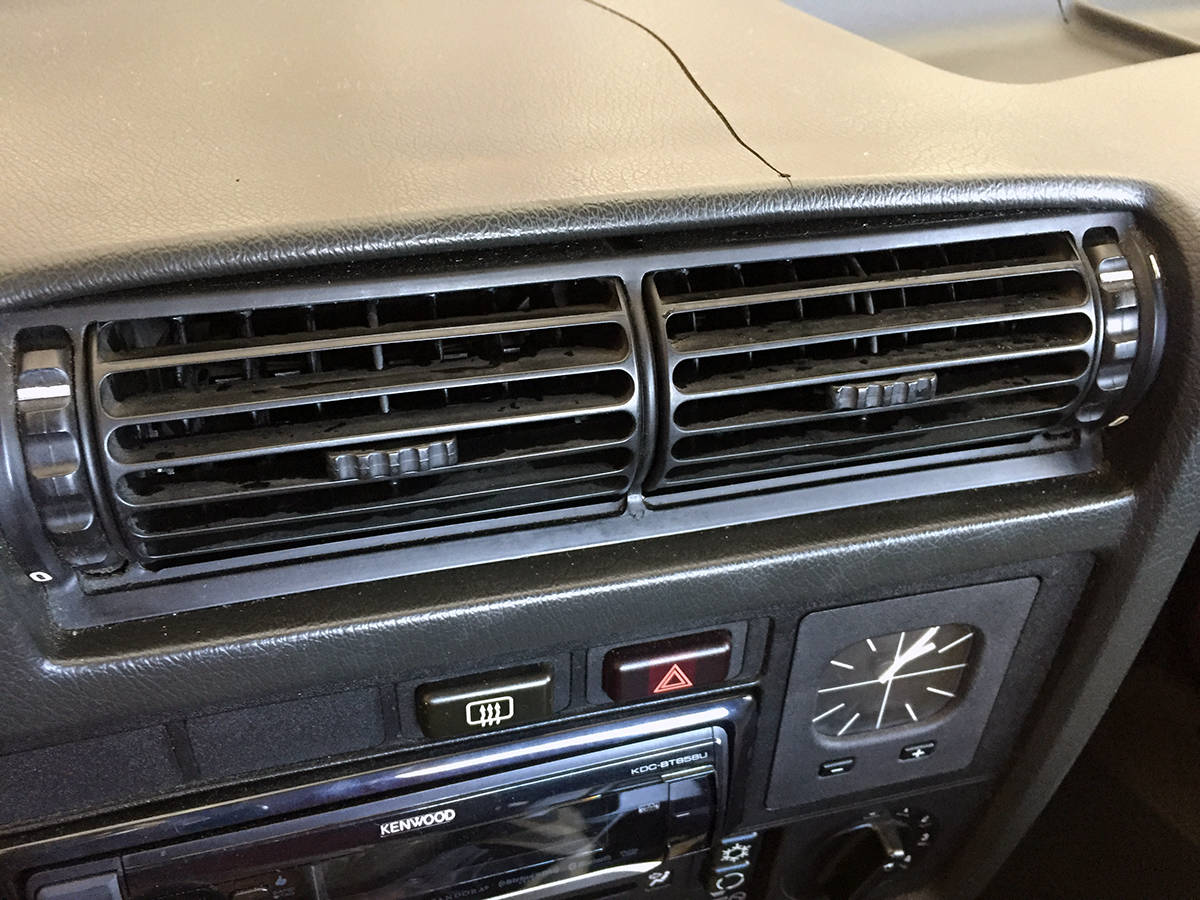
| Problem: | Interior air vents fall down. |
| Application: | E30, E34, Z3 |
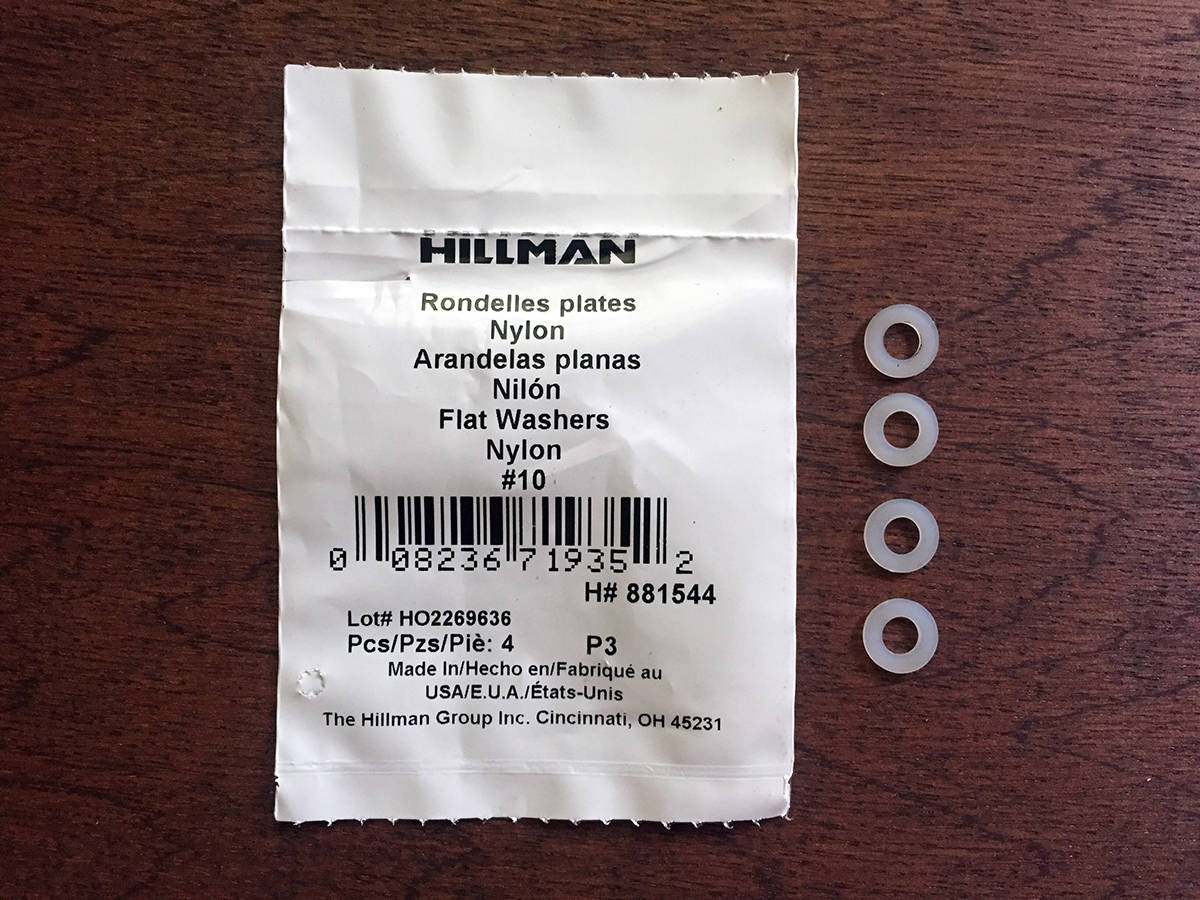
| Solution: | Nylon washers |
| Where to buy: | Hardware store (Lowes, Home Depot) |
| Cost: | $.61 per pack of 4 washers (2 packs needed, or 8 washers total) |
BMW E30 air vent fix for loose vents, E34, Z3:
A common problem with the aging BMW E30, E34 and Z3 is that the interior air vents get loose and always rest in the down position. Over time the plastic vents dry out, they expand and contract thousands of times and they lose their tight tolerances needed for them to properly function. There is a very simple and cheap fix for this however that will change your life.
What you need:
Head to the local hardware store and get a total of eight nylon washers, two needed for each vent; four vents total. Internal diameter needs to be .21 inches. If the inside diameter is a little too small you can always ream them out to a proper diameter with a drill bit at home since they are only soft nylon. We used #10 nylon washers and they fit perfect.
What is the process?
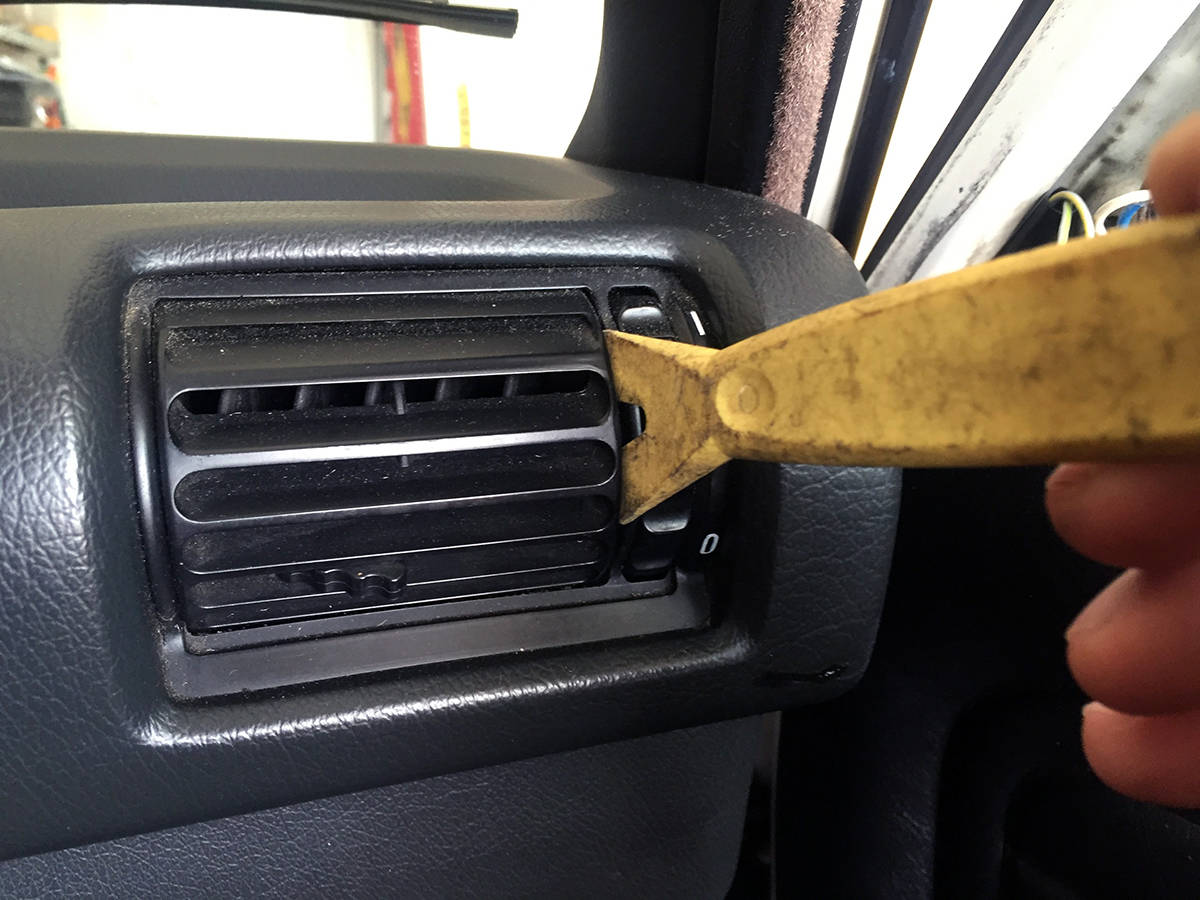
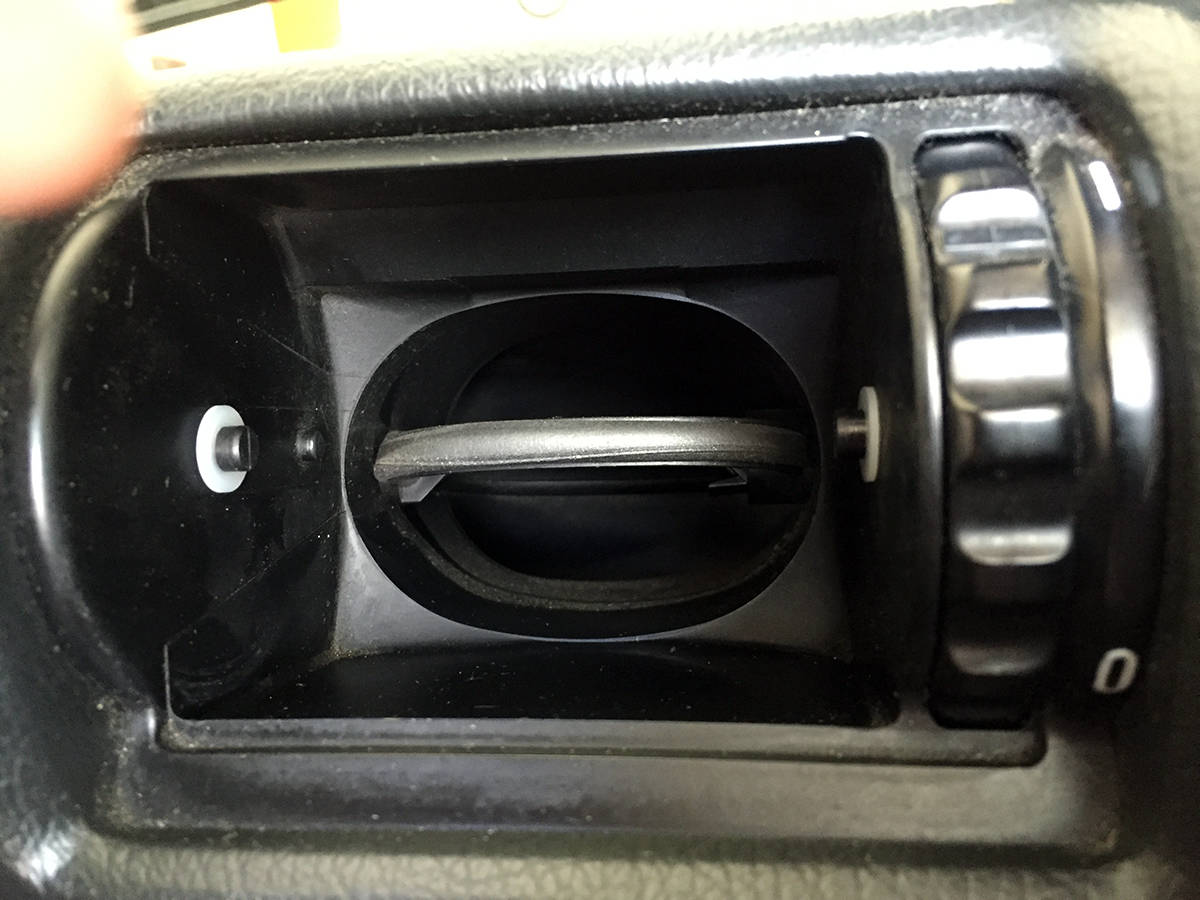
Remove the air vents (refer to the images below for further clarification). This can be tricky and frustrating but once you do one, the rest should take no time at all. There are essentially two tabs on each end of the vent which they rotate around. You need to wedge in a flat head screw driver (tape the tip to make sure not scratch anything) or a plastic pry tool which you see in the picture below. Make sure to have the vent facing all the way down, I found this makes them pop out easier. I started with inserting the pry tool closest to the dial that opens and closes the vent. Not sure why this side starts things off easier but it did for me. You will need a good amount of pressure to compress the vent and push outward. Keep working it until one side pops out.
After one side is done, move to the other side and repeat. Make sure to put a little inward pressure on the other side of the vent with your hand to make sure it doesn't want to snap back in place. You may even want to use a little hooked pick tool to pull the vent towards you as you pry sideways to pop the little tabs off the vent on the other side.
Clean your air vent ducts once removed:
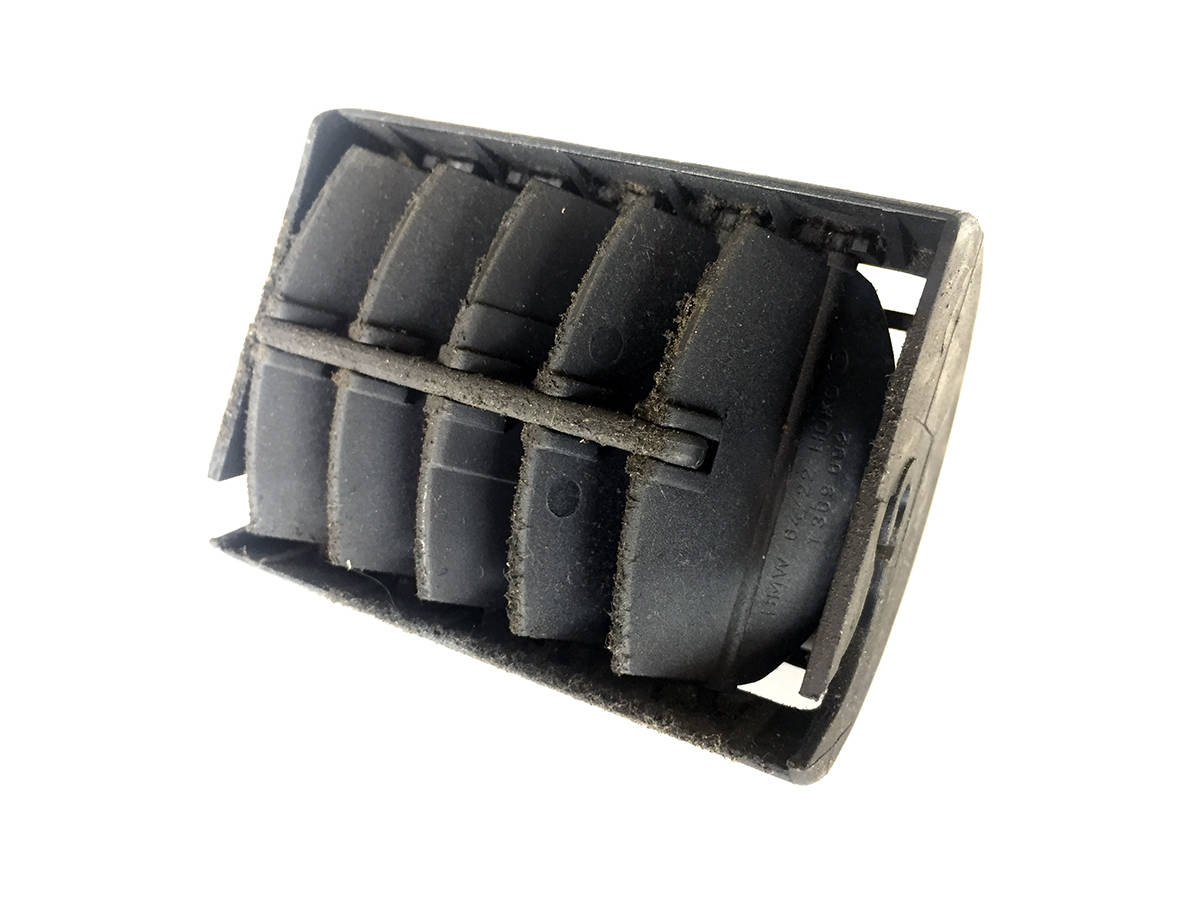
Once the vents are removed, you may notice a lot of dirt in the ducts and on the back of the vent itself. Now would be a great time to clean these buggers out as the vents probably have never been removed in 25+ years. I soaked them in a bucket of soapy water for a few hours to soften up the gunk and sprayed them with a high-pressure hose after wards. It took all of that gunk right off no problem.
Install the plastic washers:
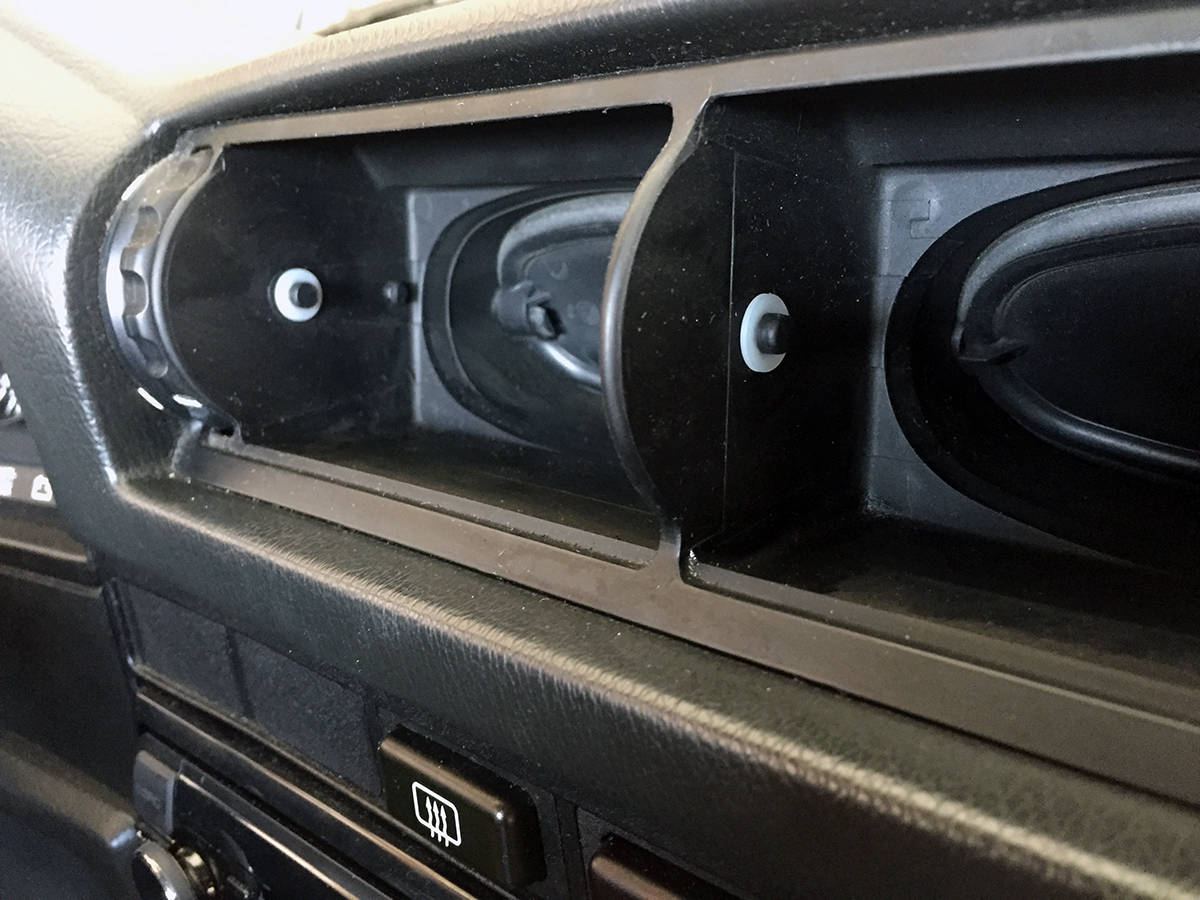
While the vents are drying, take your eight washers and install them on the little tabs on the vent side as seen in the pictures below. Depending on how loose your vents are you may only need one washer per vent. My vents were extremely sloppy so I added one washer per post. Make sure the washers are butted all the way up to the wall of the duct, you don't want a gap. This will make reinstallation of the vents easier.
Reinstall the air vents:
Simply reinstall the vents in reverse order and jump for joy. You finally have working vents as if this thing just rolled off the assembly line. It is a simple and cheap fix but it is one of the best bang for the buck modifications you can do out and the final result is absolute perfection.
Where can I learn more pro tips and informational reference guides on the BMW E30?
Learn more by clicking HERE

