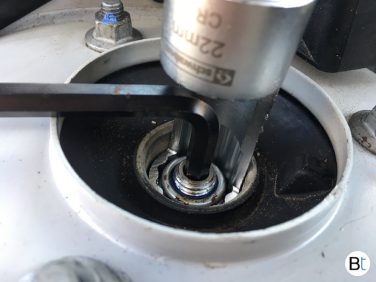
| Problem: | Improper tightening of top strut nuts. |
| Application: | All makes and models |
| Solution: | Use the proper strut nut socket |
| Cost: | $20 - $25 |
| Where to buy: | HERE |
When change out the struts on your car, one of the biggest pains is tightening the top strut nut. The pain stems from the strut shaft spinning as you tighten the nut, resulting in zero tightening. Using air tool and blasting down on it can cause over tightening. Over tightening and under tightening can lead to premature part failure. Luckily there is a simple solution to the process, the proper tool only costs around $15 and it is worth every penny.
Torquing nuts or bolts to proper values set by BMW is critical, you can read our post on why this is so important HERE.
Issues with over tightening top strut nut:
Any nut or bolt which is over tightened is essentially over stretching the bolt, or in this case the strut tube. This can lead to premature failure of the strut and require early replacing. Over tightening also compresses the spring down further on the strut, causing preload to the spring. If you do not torque the nut to the proper value, your spring rates will change and this can affect handling as well as ride quality.
To learn about spring rates and how they affect ride quality, you can read our post on this is topic HERE.
Issues with under tightening top strut nut:
Under tightening the top strut nut will cause a popping noise when driving, usually when going over small bumps. The cause of the problem is from the spring not being compressed enough from the top nut pushing down on firmly on the top hat. As a result, the spring is essentially bouncing up and down between the top hat and spring perch on the strut. This noise is extremely annoying not to mention terrible for handling.
Ways that don’t work:
➊ Strap wrenches (not grippy enough)
➋ Impact wrench (over / under tightens)
➌ Grinding down open end wrenches
➍ Grinding down sockets
The proper way to tighten top strut nuts:
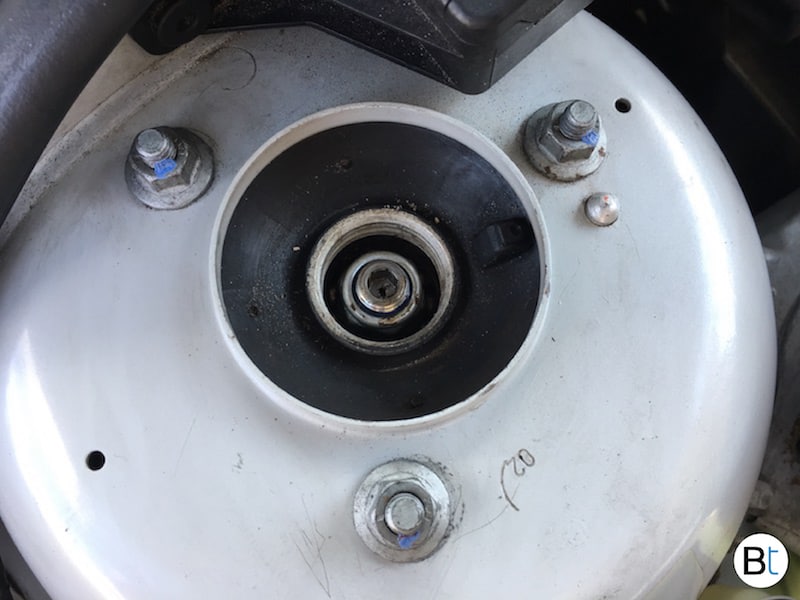
During final assembly of the front struts, screw on the top nut enough to engage the threads to where one or two threads are showing. This is just enough to keep the assembly together as you gather the proper tools.
What you will need:
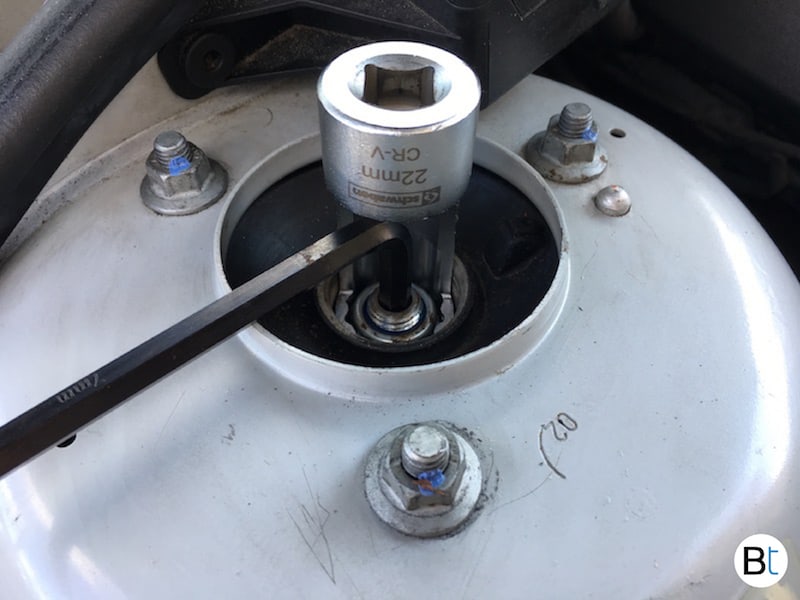
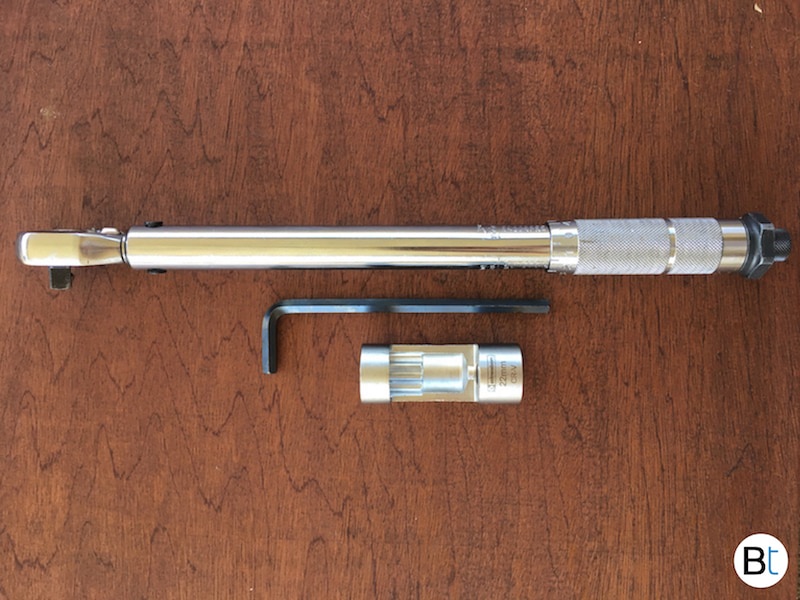
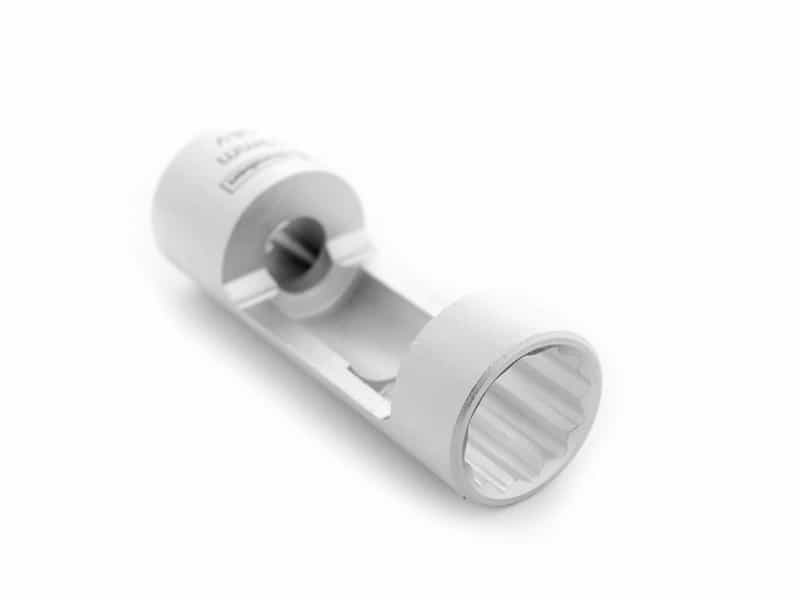
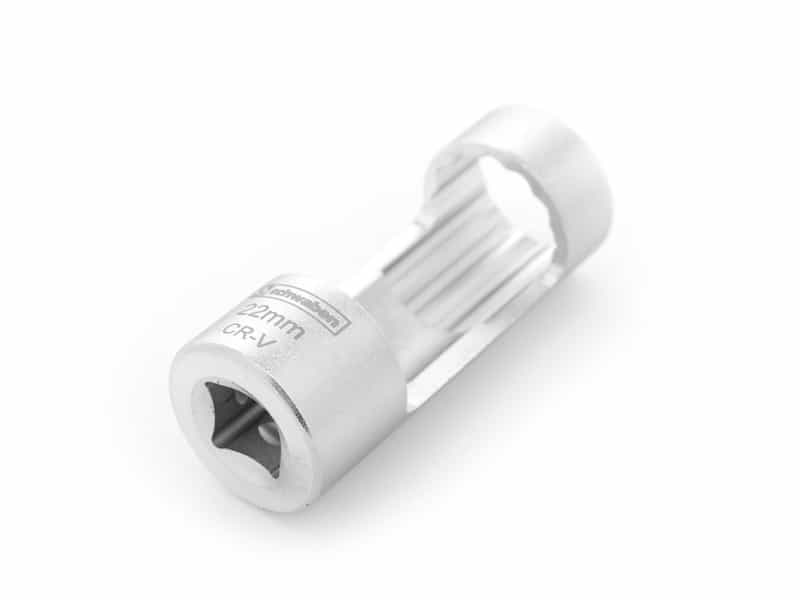
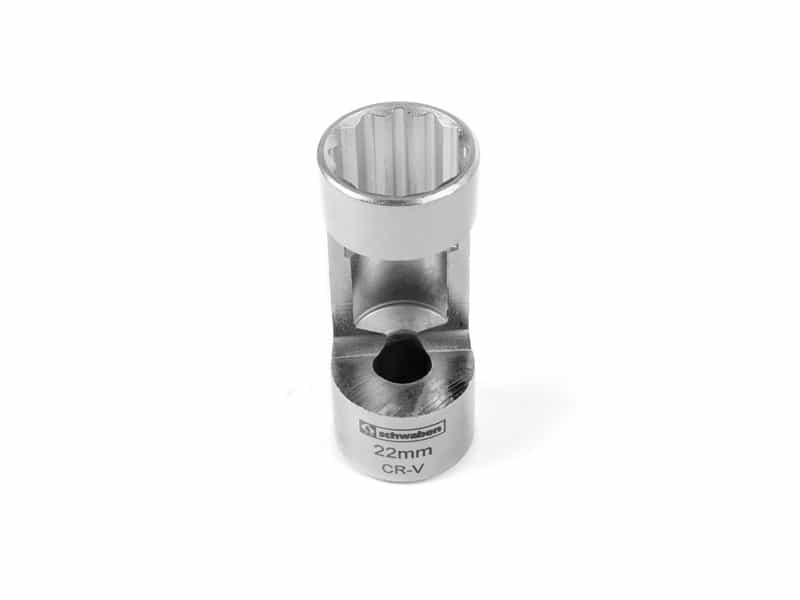
➊ Special socket strut nut socket (22mm for E46)
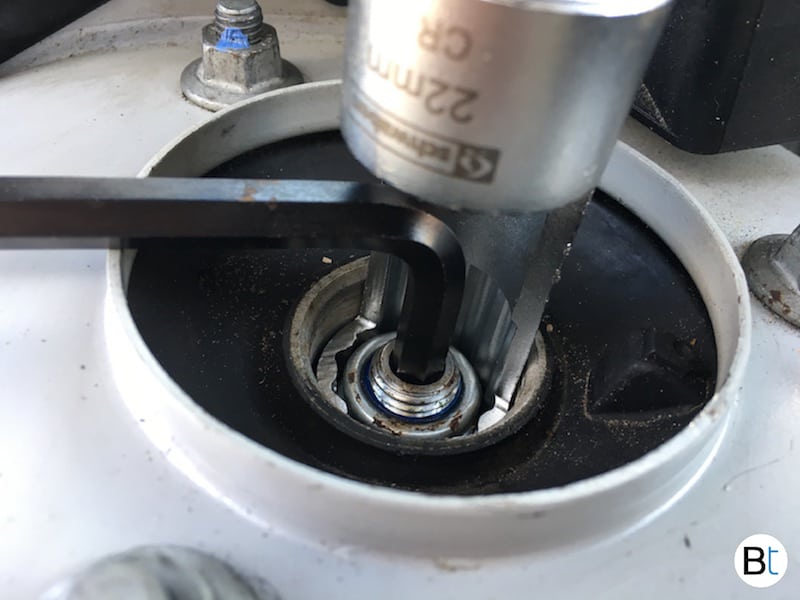
➋ Allen key, this will prevent the shaft from spinning while tightening nut (7mm for E46)
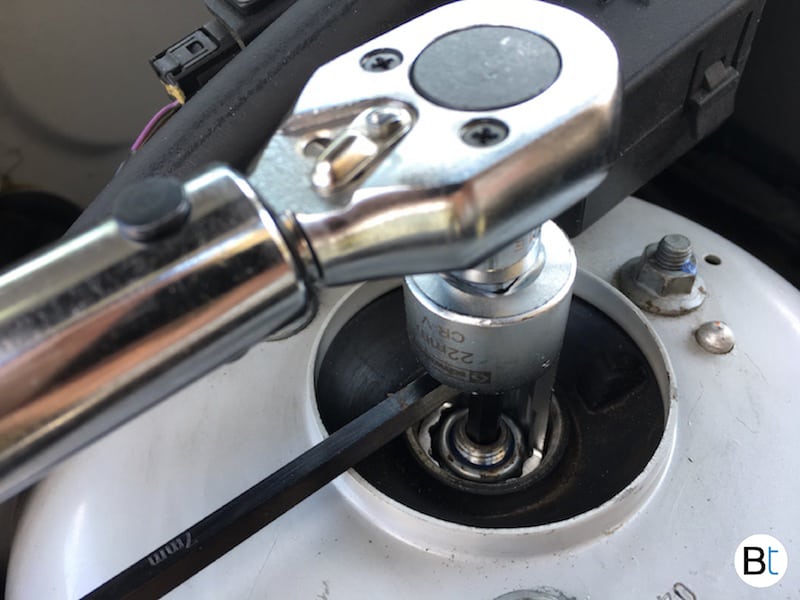
➌ Torque wrench (47 ft lbs for E46)
The tightening of the top nut can be done once the strut is installed in the car (before test driving) or when the strut assembly is still off the car. Attach the socket on the torque wrench and insert it over the nut. Ensure the torque wrench is properly set to the proper value, in this instance on the E46 it is set to 47 ft lbs.
Next, take the allen key and insert it into the top of the strut shaft. This will keep the shaft from spinning as you tighten the nut. Begin tightening the nut, as the socket turns and hits the allen key you will have to lift it off the nut and rotate it so the opening is facing you again and reinstall the allen key. After a few good rotations the torque wrench will give you a satisfying click and you are done.
No more hammering down on this nut with an air tool or electric impact causing over tightening. It is important to use the proper tools for the job. This will ensure safety and longevity of your parts, prevents headaches and saves time.
Where to buy the BMW strut nut socket tool:
You can buy the strut nut tool from our store directly through our store: HERE
